Adding permissions to connect to SharePoint
If you want CloudFiler to work directly with SharePoint, you will first need to add these two Delegate Rights.
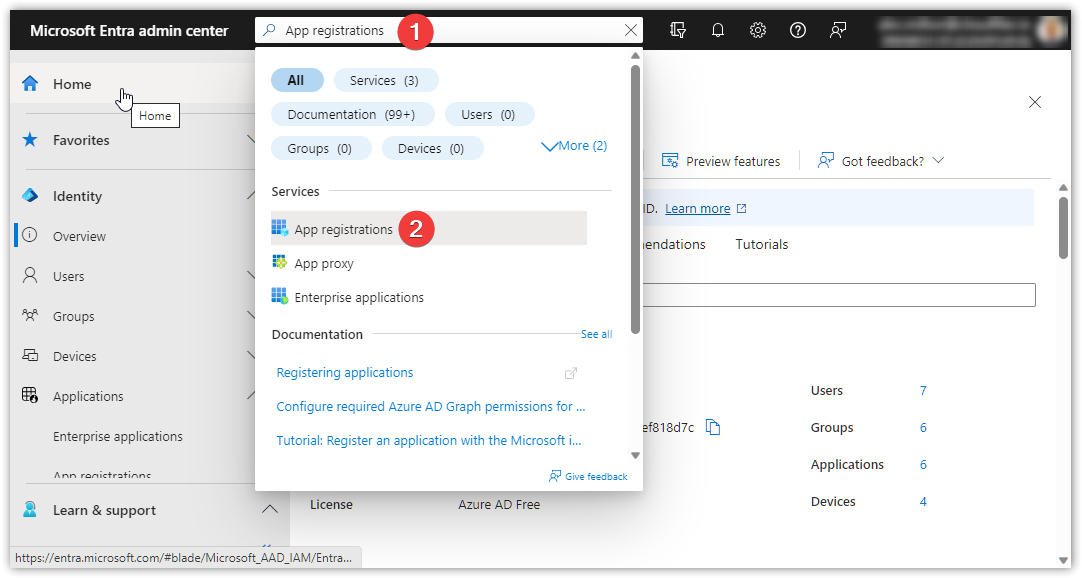
To do this, Open the Microsoft 365 admin center portal https://admin.cloud.microsoft/ (Link opens in a new window)
In the search field type App registrations and select App registrations
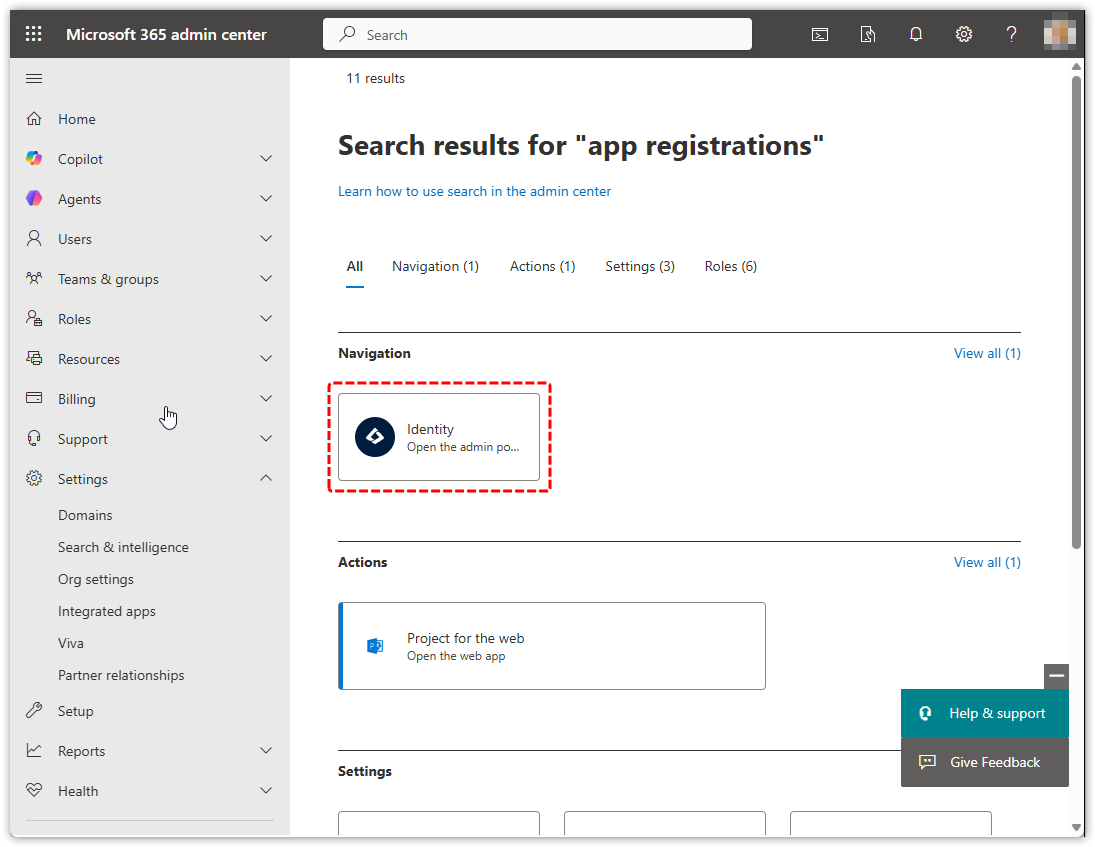
If you are presented with a page like this, select Identity:
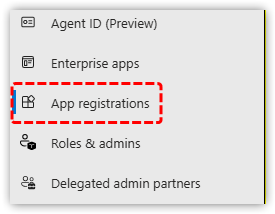
Then select App registrations from the sidebar:
|
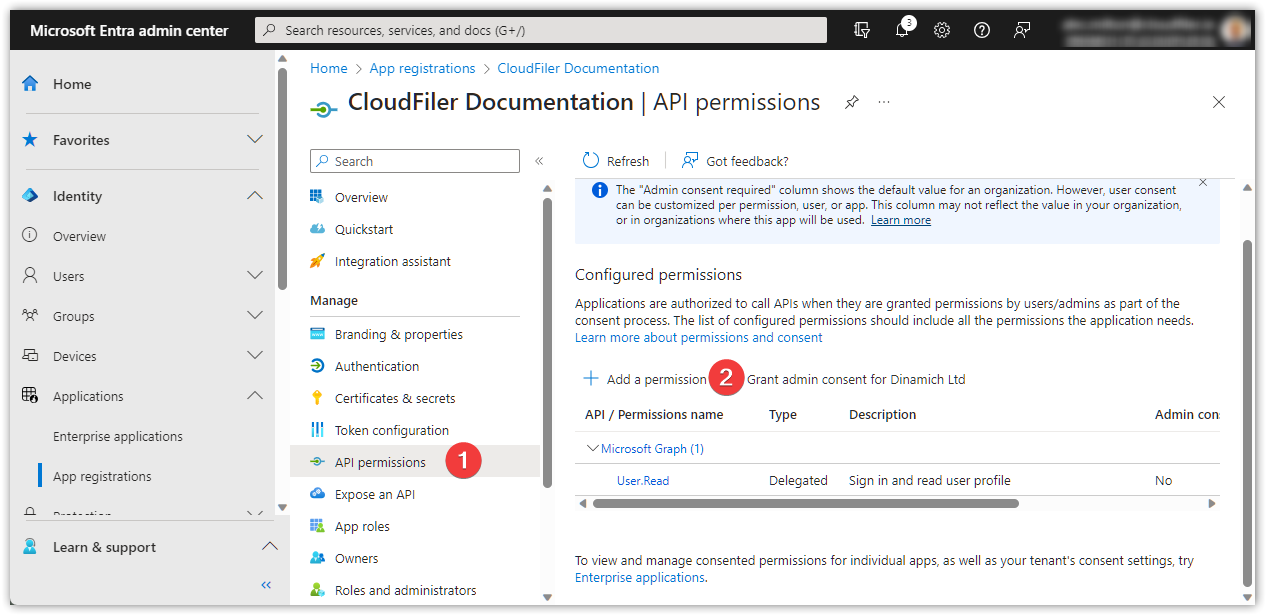
Select API permissions and then Add a permission:
|
|
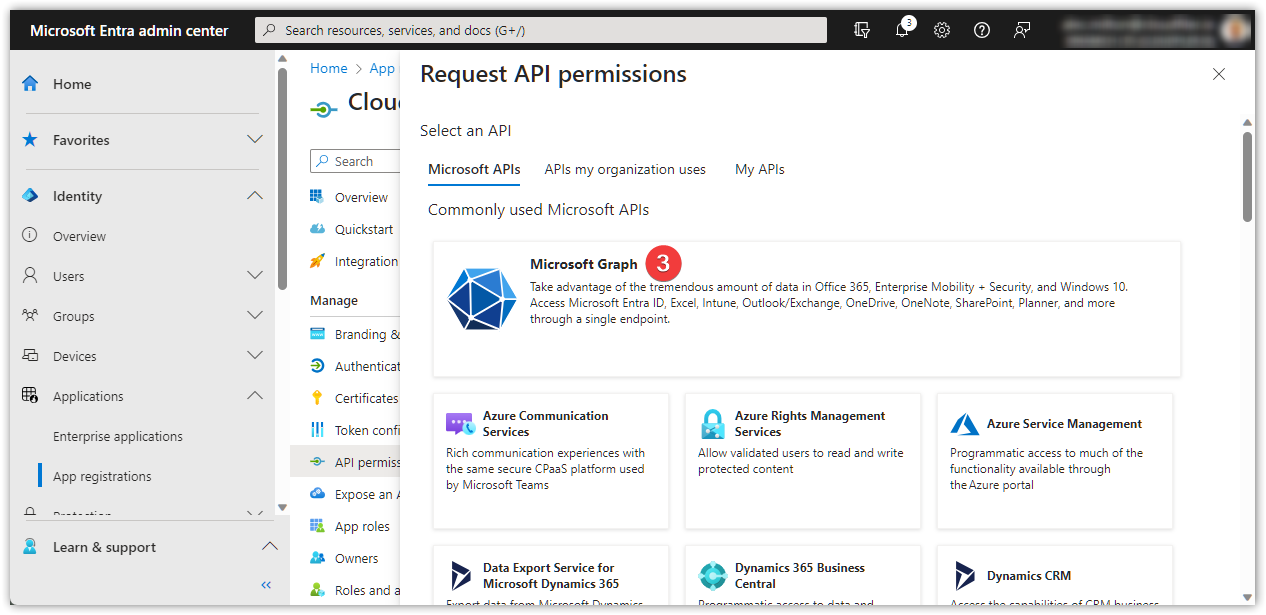
Select Microsoft Graph
|
|
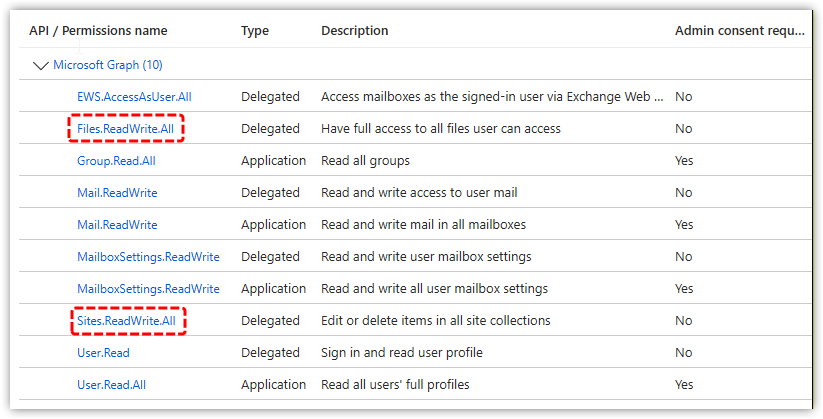
You will see that there are two types of permissions: Delegated and Application. We need to assign the following Delegated permissions: Files.ReadWrite.All Sites.ReadWrite.All We will do the Files.ReadWrite.All first, so select Delegated permissions |
|
Filter for Files.ReadWrite.All, you may need to expand the filtered sections, select Files.ReadWrite.All and select Add permissions Repeat for the Sites.ReadWrite.All. Grant permissionsNow that you have updated the permissions, click on Grant admin consent for...
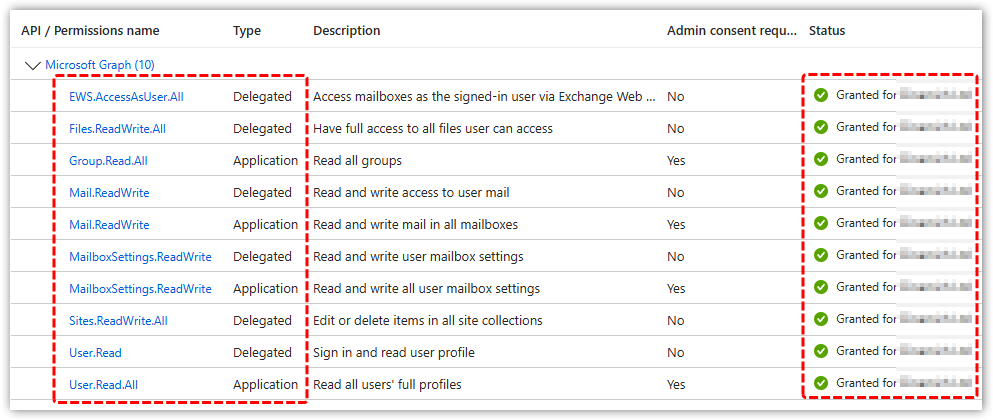
If you now select API permissions on the left, your permissions should look like this:
CloudFiler will now have the permissions required to integrate with SharePoint. |