The Hub - what is it?
What is the hub, what does it do, and where to install it
The CloudFiler Hub is a desktop companion that streamlines setup and maintenance, reducing the burden on IT teams by delivering up-to-date versions of CloudFiler Apps to user-users, removing the need for manual software roll-outs or updates. You will typically install it on each user’s computer.
System Requirements
- Operating System: 64-bit Windows (MacOS version is planned but not yet available)
- Runtime: Requires the .NET Desktop Runtime 8
Where can I find the installer?
The installer is available on the same webpage as other CloudFiler installers. You should have received a link to this page previously. If you can't locate it, please contact our support team.
Consider setting it to be dormant if remotely deploying to many users
If you have many users, you can deploy the Hub remotely but dormant, so that when you are ready, you can instruct your staff to sign in: Installing the Hub silently
Authenticating via the Hub
The Hub provides security authentication via Entra for CloudFiler's Apps, so whereas earlier versions of our Apps required license files or tenant keys, the new versions don't require any separate authentication.
Don't deploy it without letting users know what to expect
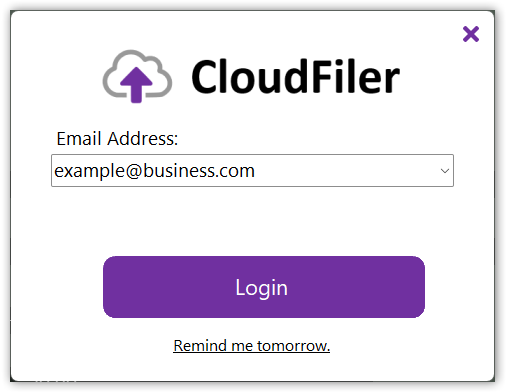
The Hub to users to authenticate, so be sure to let them know what to expect - we suggest that you email them with one or more of these screen shots so that they know what's coming.
If the user has multiple email accounts the Hub will attempt to select their business account, but users may need to alter the selection.
Upon logging in, the Hub will confirm authentication and will automatically close.
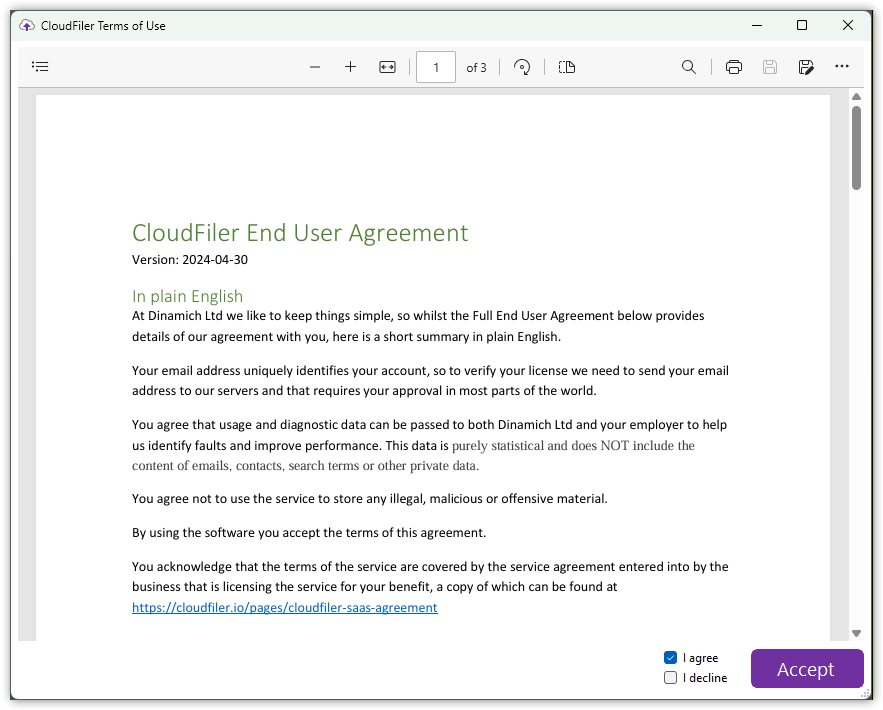
New users will need to accept the End User Licence Agreement
This agreement is required for Data Protection reasons. CloudFiler approves the user based on whether they have an email account on your business domain, so it asks Outlook for the user's email address, however if they have multiple email accounts mounted in Outlook, our systems receive a list of email addresses and CloudFiler just checks whether one of them is valid. As there could be personal accounts in the list such as a private Gmail account, we are legally required to ask for the user's approval to receive that information.
The Hub provides the right tools to each user
Once authenticated, and wherever they log in, the Hub downloads the latest tools that have been provisioned for that user.
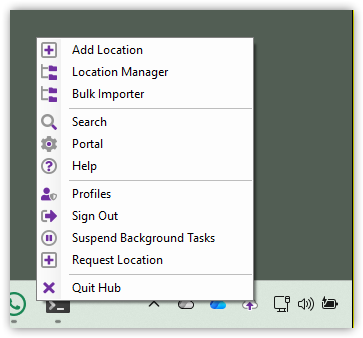
Those with Admin rights and those that have been assigned to the CF Admin group will receive access to the Add Location, Location Manager and Bulk Importer tool.
Fine-grained software distribution controls are planned for future releases.
Signing out or Quitting the Hub
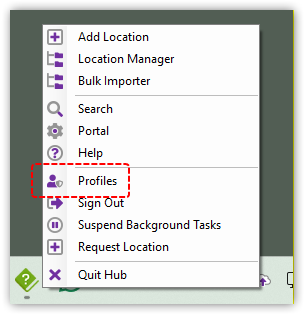
Users can sign out and re-authenticate at any time by right-clicking the Hub icon in the system tray.
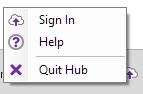
If you sign out, the tray icon remains active enabling you to sign in again.
If you quit the Hub, all processes are terminated and it won't re-start until you next log in.
Quick Access to Tools
After installation, the Hub runs in the system tray.
- Left-click the icon to launch the CloudFiler's Pico Search Tool
- Right-click to open a menu showing available applications, based on the user's access permissions
Launching the Pico search tool via the Hub
As mentioned above, a really convenient way to launch Pico is to single click the Hub's icon in the tray. The alternative is to launch it via the CloudFiler Add-in in Outlook.

How to make it stay on the task bar
By default Windows will add the tray icon to the list of hidden items. You can change this to ensure it remains visible on the taskbar as follows:
- Open the Taskbar settings by holding down the Windows key and press the I key on the keyboard, then select select Personalisation and Taskbar
- Expand the Other system tray icons section and toggle the CloudFiler.Launcher to On
Switching Profile
Most businesses will only have one CloudFiler tenant, but if you have more than one, you can switch tenants when required. Once you have changed tenant, you can then launch Apps like Add Location or the Location Manager and they will now be linked to the tenant you selected.