Existing customer transition
If you are an existing customer, this page is designed to help make the transition to the Hub simple:
What are the steps?
- Enable the Hub on Exchange
- Test it on just your machine
- Deploy to all staff
Step 1: Enable the Hub |
The first step is to enable the Hub on Exchange. When can you do this?You can do this immediately as it has no impact on current users. To do this we need you to add some permissions via the Microsoft 365 Admin Center. They are documented in the link below. You will have previously added some of these to get CloudFiler working in the first place, so you now just need to add a few more.
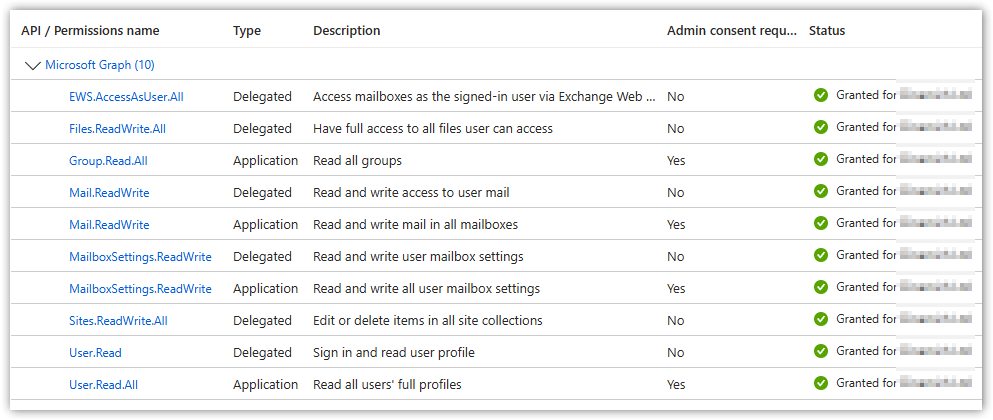
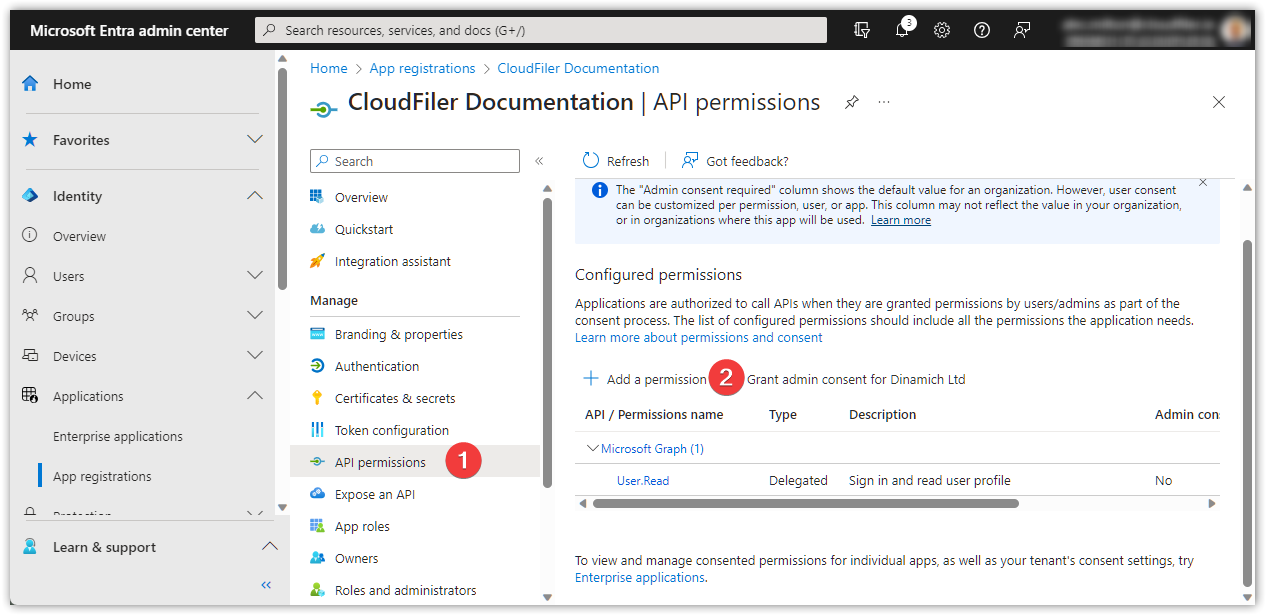
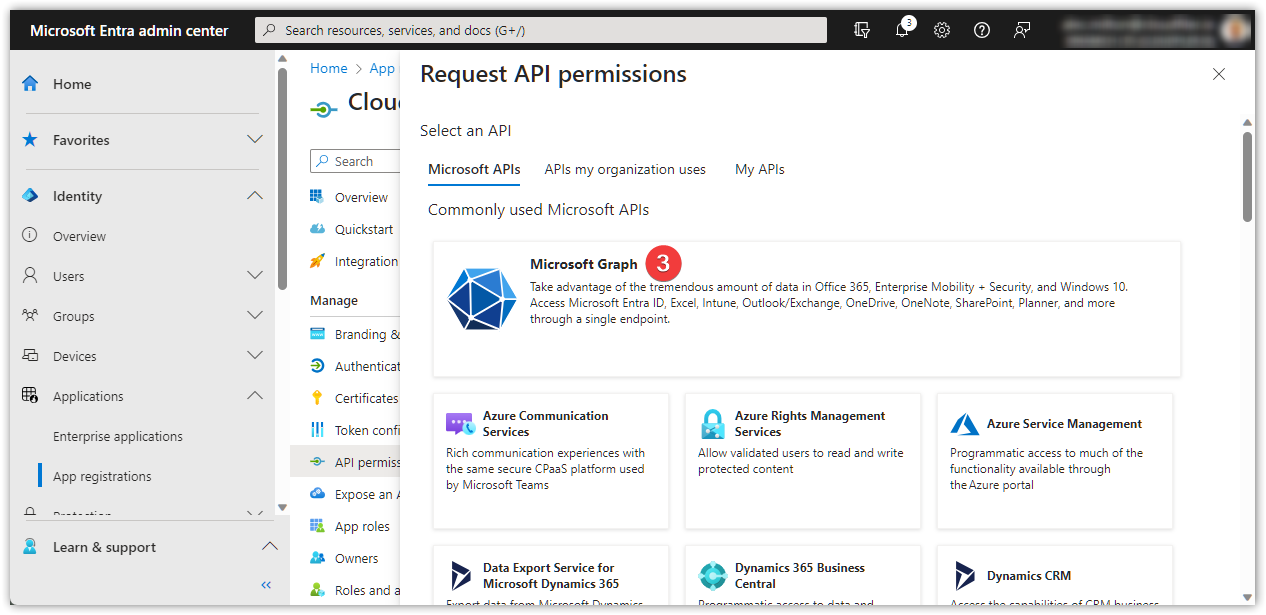
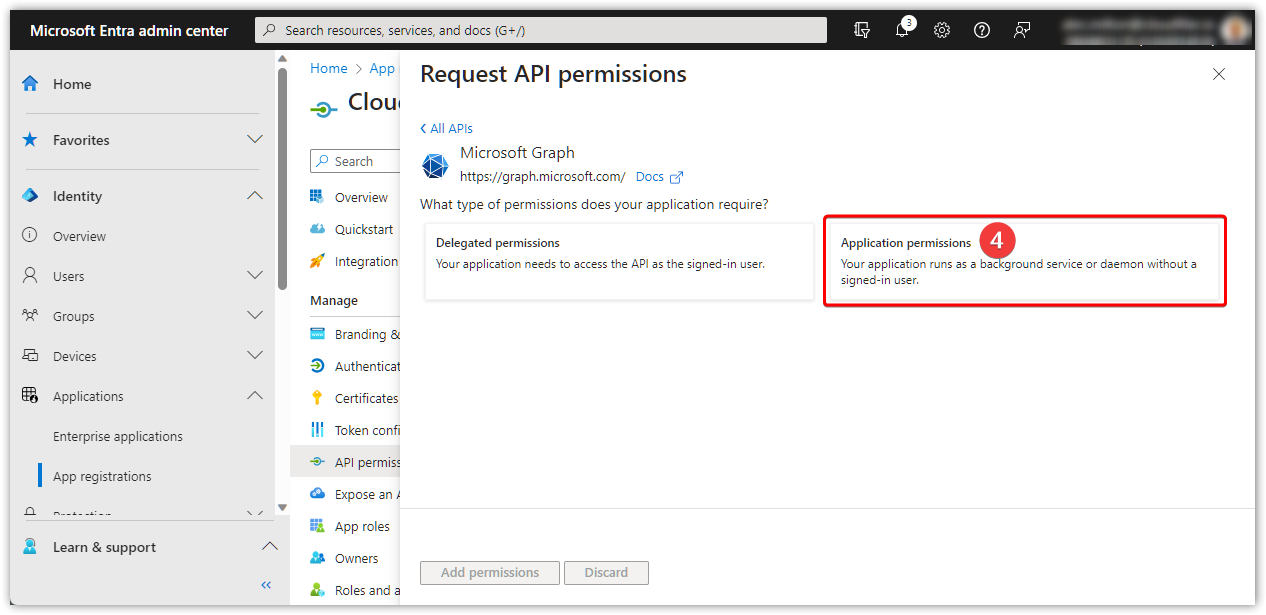
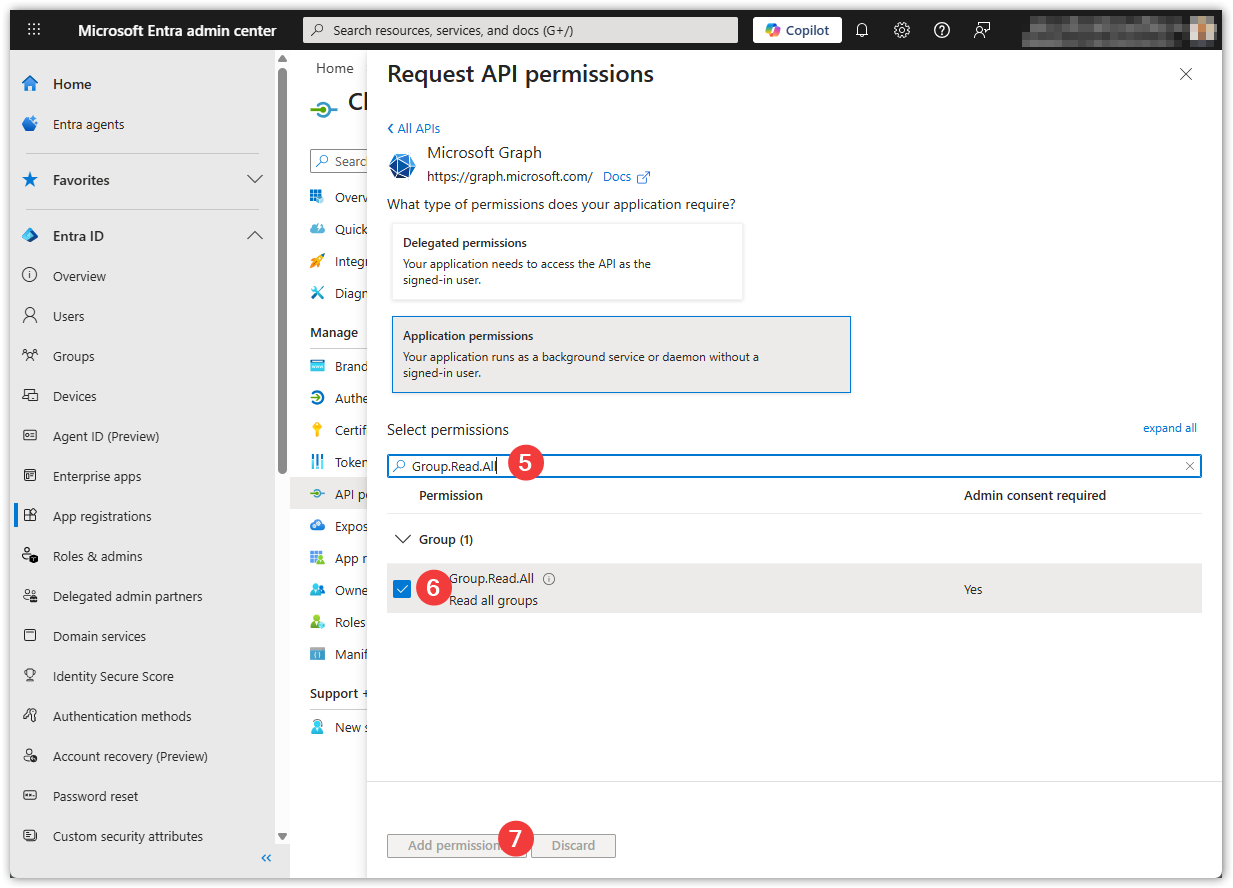
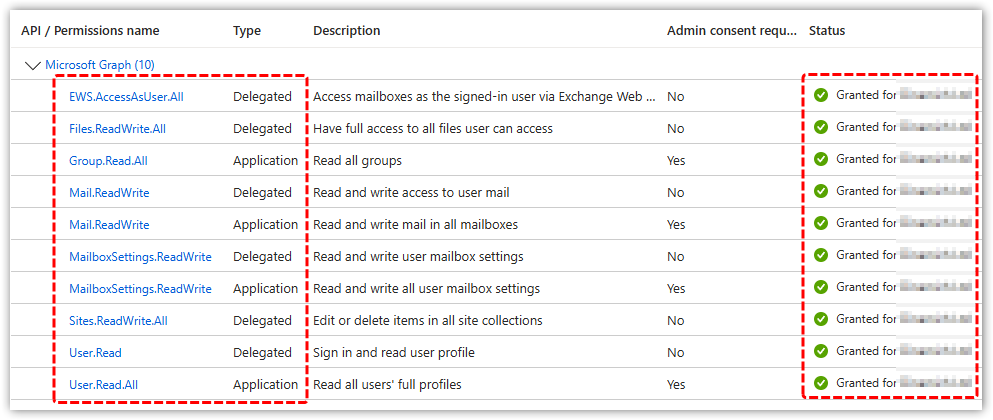
API PermissionsThis screen shots shows how your API permissions should be configured once you have updated them.
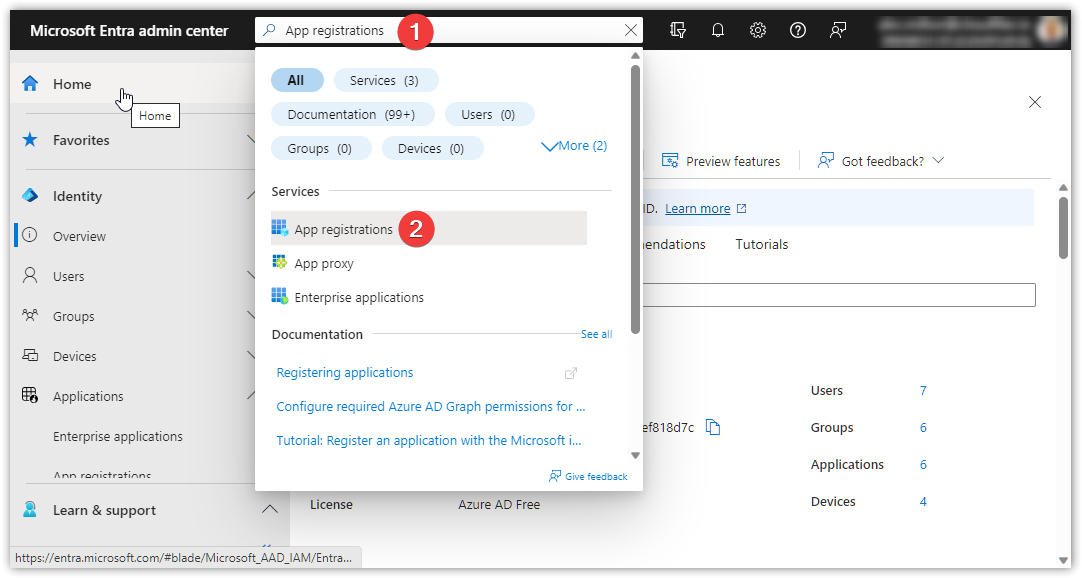
You will already have some of these and just need to add the ones that are missing. To add them, follow this link to the 365 Admin Centre: the Microsoft 365 admin center portal https://admin.cloud.microsoft/ (Link opens in a new window) In the search field type App registrations and select App registrations
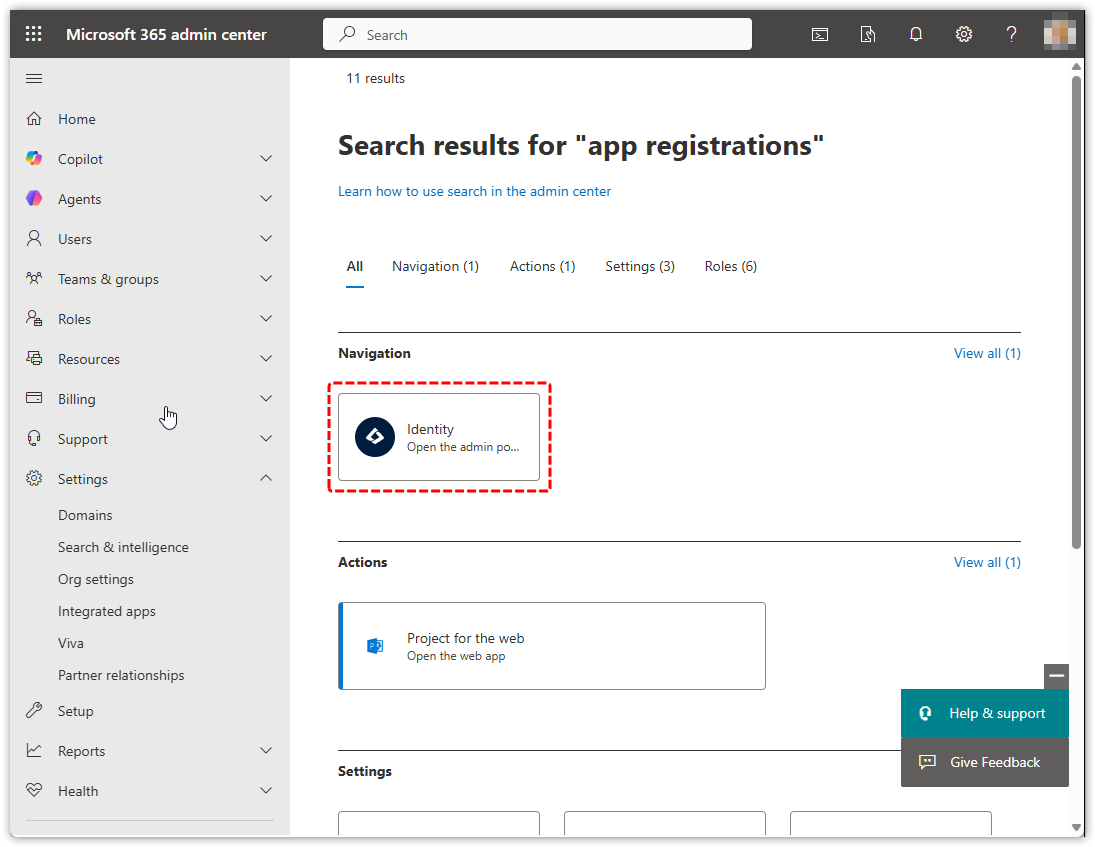
If you are presented with a page like this, select Identity:
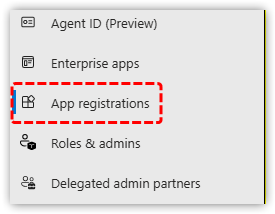
Then select App registrations from the sidebar:
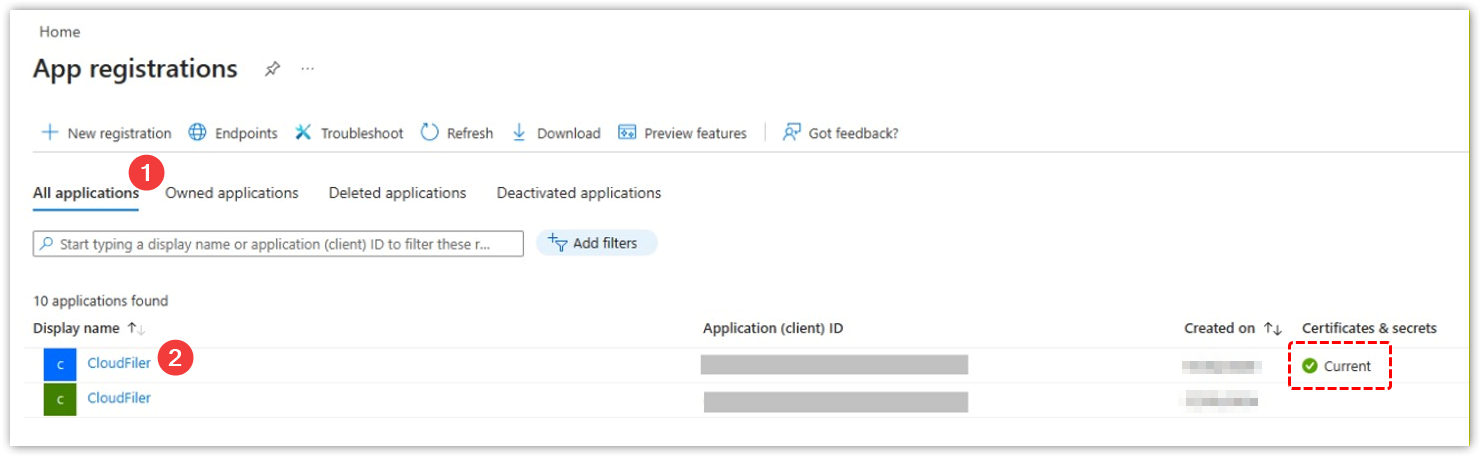
Select All applications and then the CloudFiler that has a Current certificate:
Authentication URI'sYou now need to add these Authentication URI’s:
|
||||
|
|
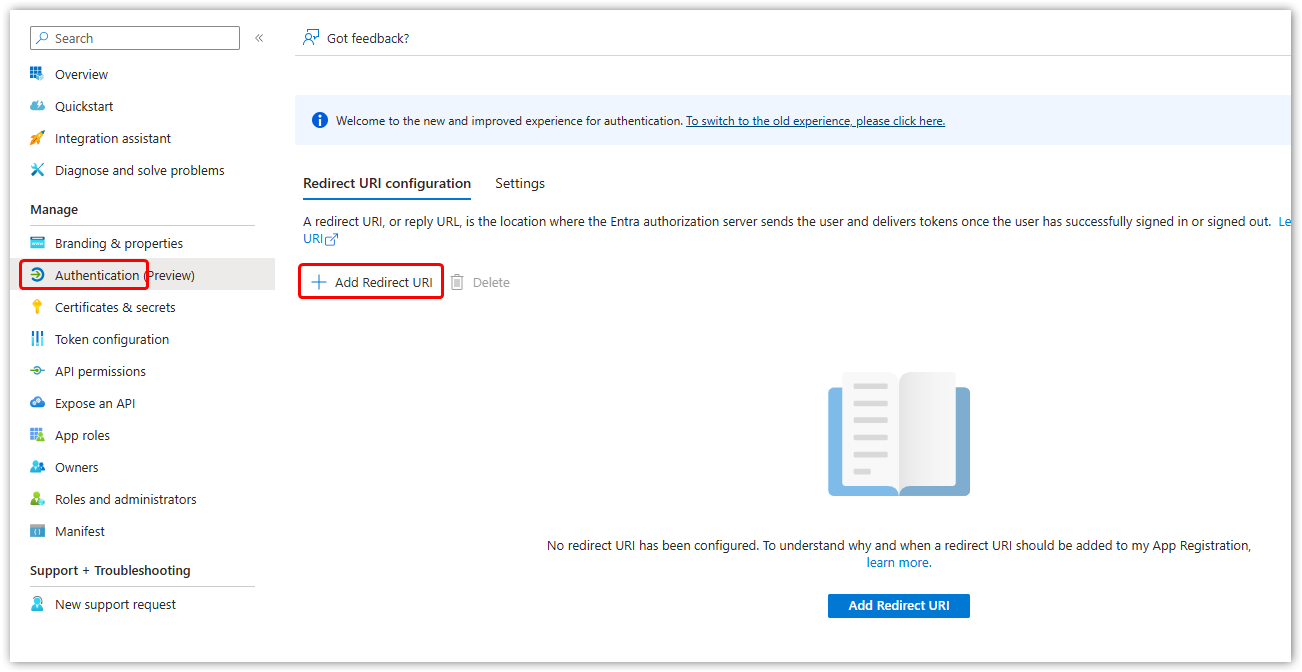
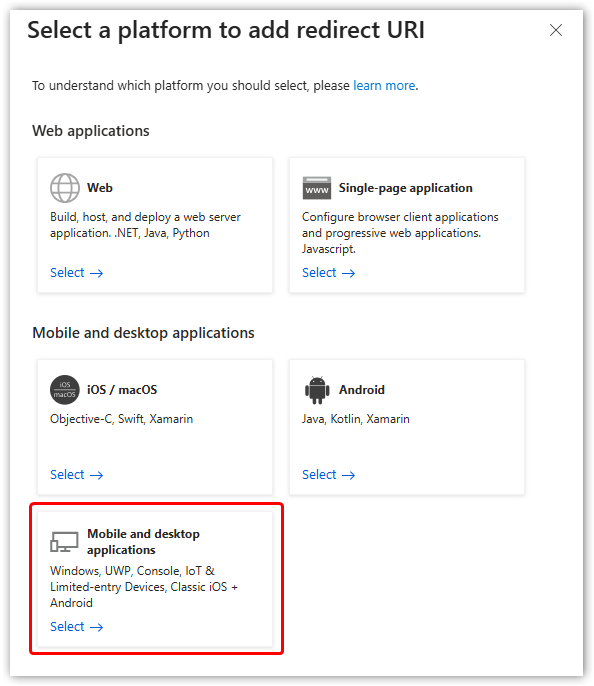
Pick Authentication and then Add Redirect URI
From the side menu select Mobile and desktop applications
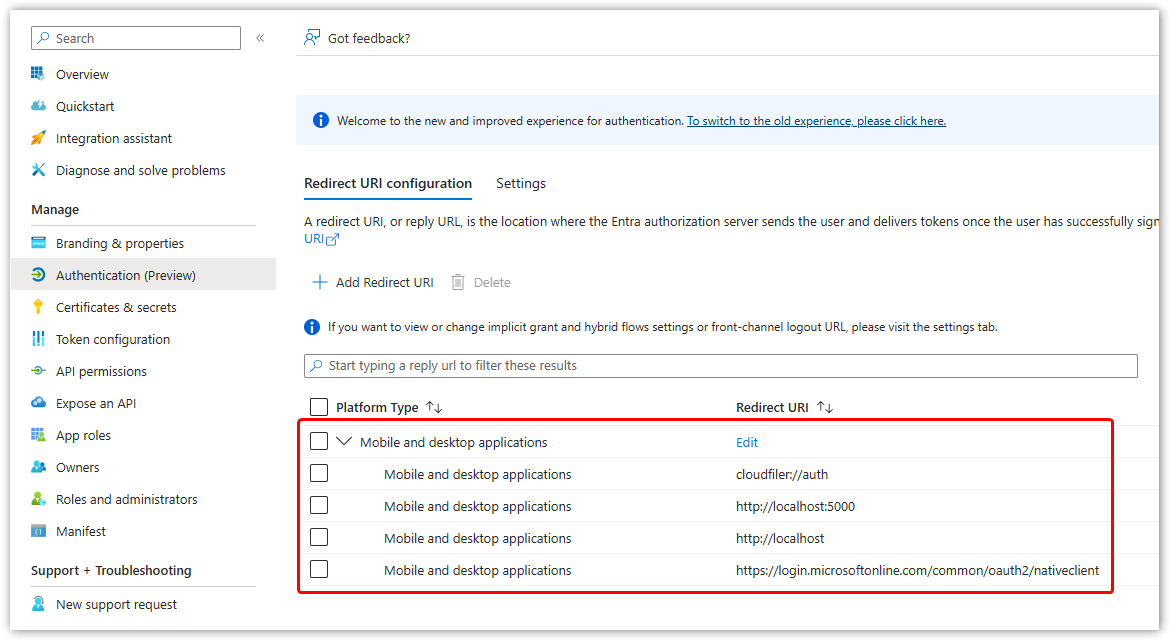
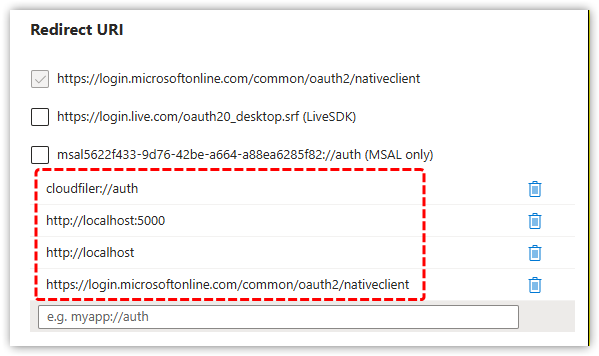
Add the following for Mobile and desktop applications: cloudfiler://auth http://localhost:5000 http://localhost You can add them all at once as it will create a new entry field each time you add one:
Check that they are as shown here, then pick the Configure button. If you have added them correctly they should appear as shown here:
|
||||
Step 2: Test it |
We recommend that you test the Hub on your own machine before deploying to all staff. The Hub provides a number of new features and replaces the following ones. So you first need to uninstall these:
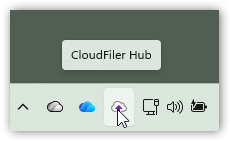
Ensuring it is not blocked by your anti-virusWe have yet to digitally sign the applications so you may need to whitelist our folders or executables as detailed here: Anti-malware exclusion paths Next install the HubYou will find it on our Installers page, the URL for which will have been provided via email. We recommend that you read this Help page as it explains what the Hub provides and has some tips which you are likely to find helpful: The Hub So now that you are more familiar with it and have hopefully pinned it to your taskbar too, try the following: Check that you are logged into the HubThe Hub should appear as an icon in your tray and depending on the installation process, you may already have logged in via Entra.
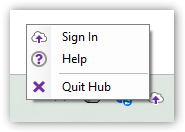
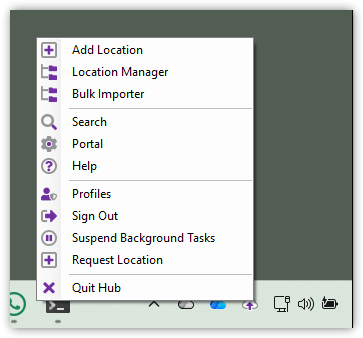
Check whether you are signed in by right-clicking the tray icon. If you are not signed in, it will offer these options and you will need to select Sign In.
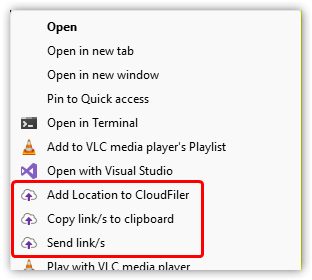
Check that the Helper behaviour is workingYou will have uninstalled the old CloudFiler Helper application which opens emails in Outlook when you double-click them in our Pico search tool. As the Hub now provides this, try double-clicking an email in Pico. It should open in Outlook. Next check that the Add Location capability which was previously provided via our Shell Extension, is working. Open Windows File Explorer, navigate to a folder and right-click it. Select Show more options from the bottom of the list and it should include our three tools:
Select Add Location to CloudFiler You should find that this works as expected. If you are a CloudFiler Admin or are in the CF Admin group, when you right-click the Hub icon you should find that you can launch the Location Manager and that it no longer requires a tenant key.
If all these work as expected, your Hub is working fine and you can now choose a time to deploy it to staff. |
||||
Step 3: Deploy to all staff |
We recommend that you make your staff aware of what to expect first and this page with help you with that: The Hub Whether to un-install the Shell Extension and Helper?Ultimately the Hub will deliver all of the additional features of CloudFiler and you will be able to control who gains which features via your portal, but we have more work to do before you have these controls, so you need to pause and consider whether to uninstall these two Apps. We recommend uninstalling the Helper for everyone that you plan to deploy the Hub to, however the same is not true for the Shell Extension because, whilst the Hub includes the latest Shell Extension features which are Add Location to CloudFiler, Send Link/s and Copy Link/s to clipboard, they will only be available to those staff who are top-level Admins, so others will lose these features if you uninstall the Shell Extension.
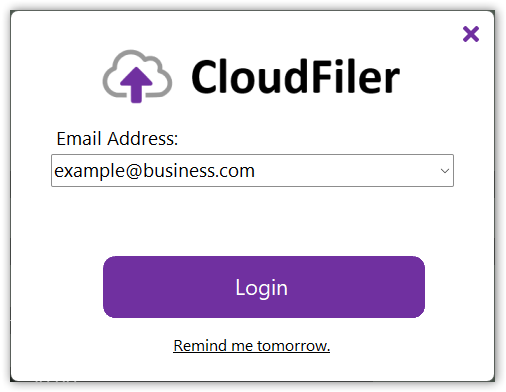
So un-install just the Helper or both the Helper and the Shell Extension for staff depending on your needs, and then install the Hub on all machines running Windows. Installation optionsWhen deploying to many users via a tool like InTune, you can opt to either install it silently in which case it will deploy to the user's tray but won't activate, or you can make it immediately activate, in which case the user will be presented with the authentication prompt upon logging in:
See Installing the Hub 'DORMANT' |