Quick Start - for users
This short Quick Start guide shows you how to:
- Locate the Add-in
- File messages
- Find messages with the search tool

Locate the Add-in
If CloudFiler has been enabled for you, it will appear on your ribbon menu in Outlook.
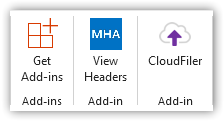
Select an email from your inbox, then pick the CloudFiler button on the ribbon menu. This will open the CloudFiler menu in Outlook.
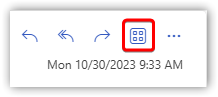
If you can't see it on the ribbon, select an email and then from the 'waffle' menu, which is on the header of the email's preview, select CloudFiler.
This should then display the CloudFiler menu of filing locations.
|
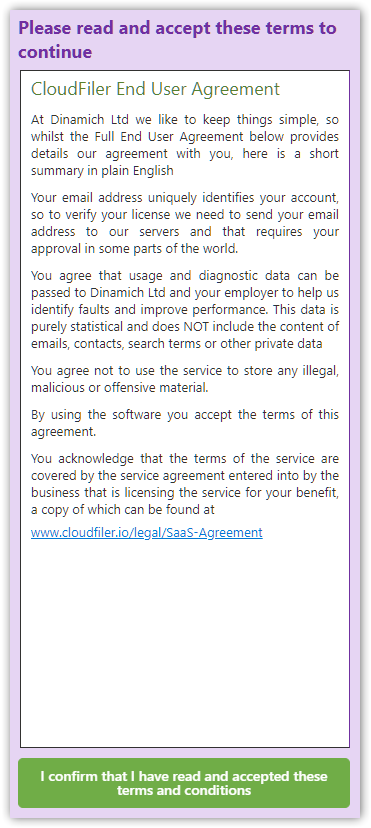
New users are presented with the licensing agreement. |
|
|
Once you accept the agreement you will see a quick 'explainer' providing an introduction to the user interface.
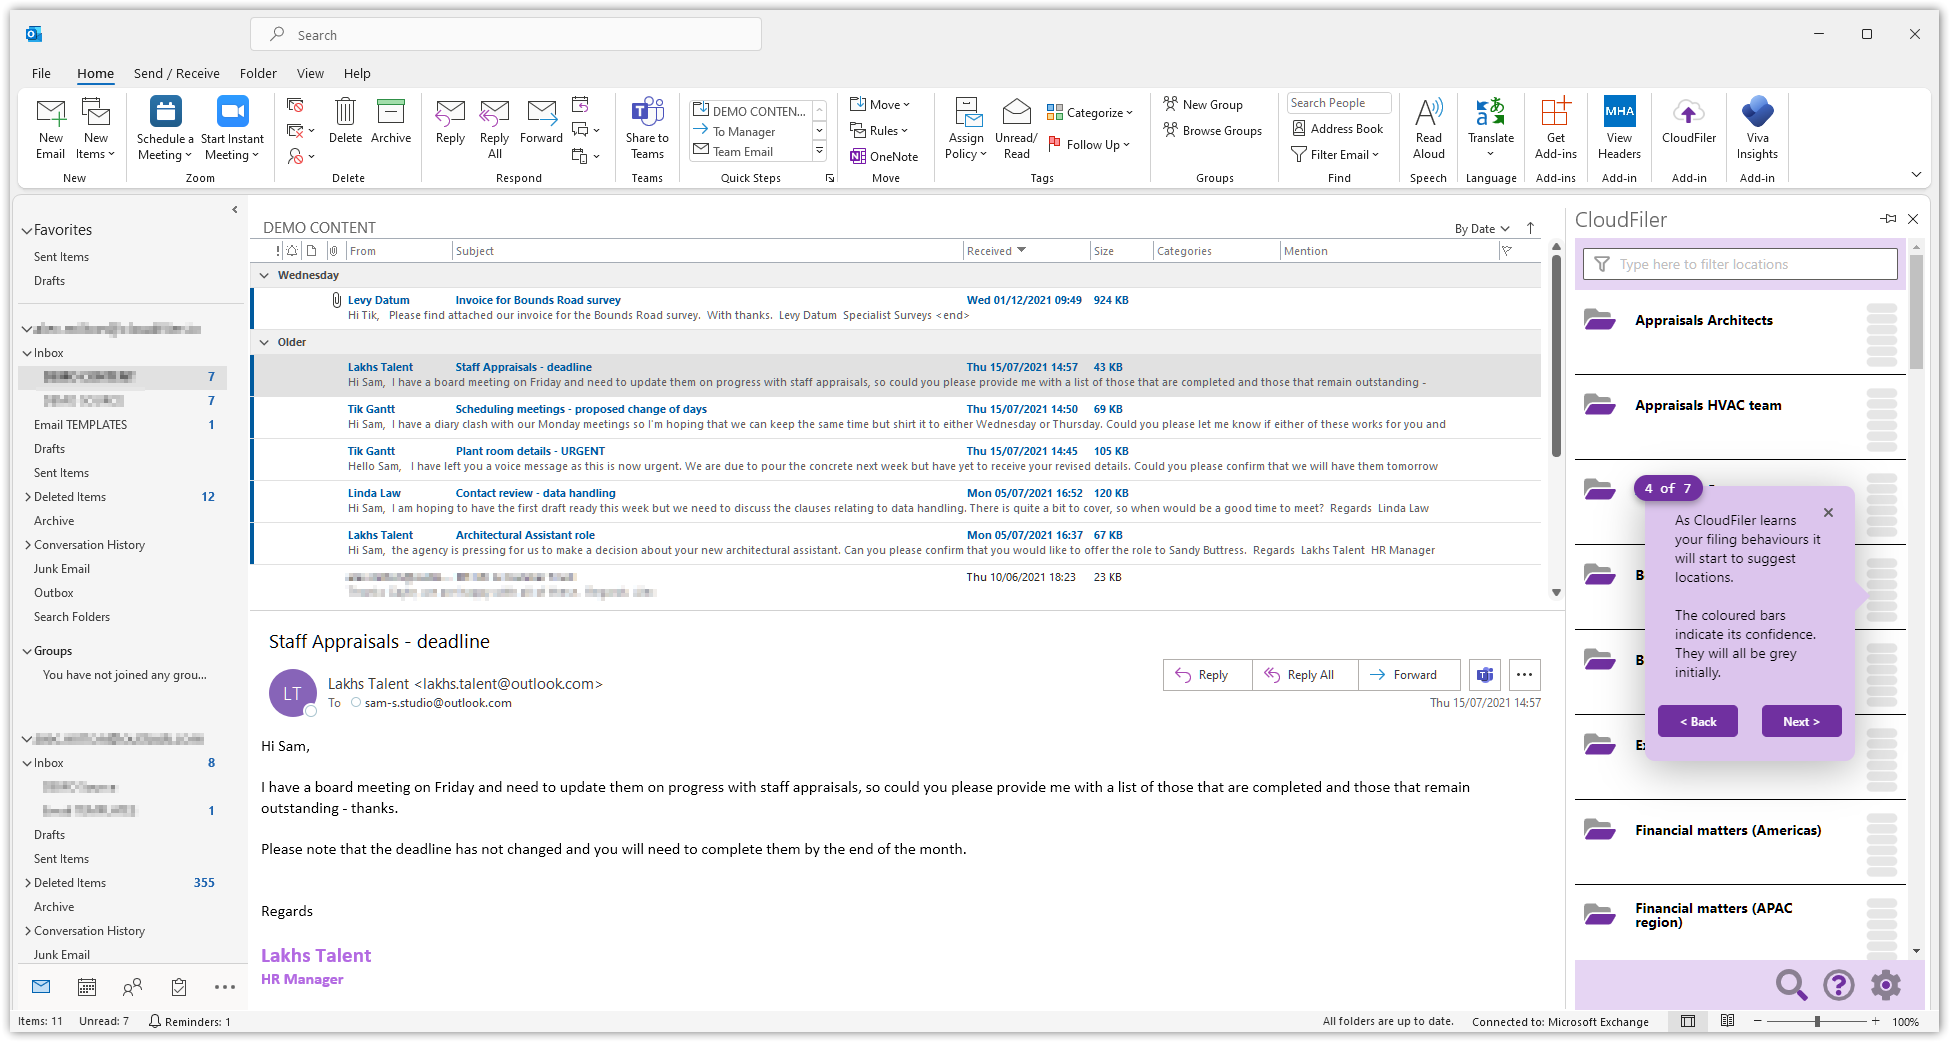
Be sure to pin the Add-in otherwise it will disappear when you select another email:


 Video Tutorials
We recommend that you watch the videos on our web site to quickly learn how to file incoming and outgoing email and how to get the most from CloudFiler's advance 'Pico' search engine.