Sync SERVICE
The SERVICE variant of the Sync Connector runs as a Windows Service, it is ideal where you are syncing to network folders because you can set it to auto-restart and to run as a nominated user will elevated rights.
Run the service under a domain account
We recommend that you create a user account specifically for the sync service which has read/write permissions on the required destination folders and then ensure that the service is run under this account.
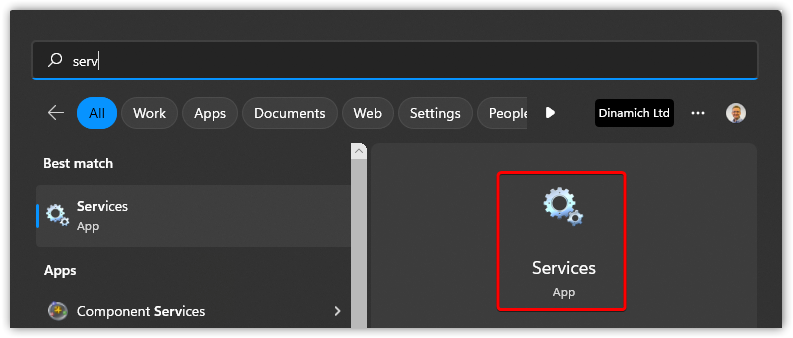
After installing the sync service, run the Windows Services application...
Locate the CloudFiler Sync Service...
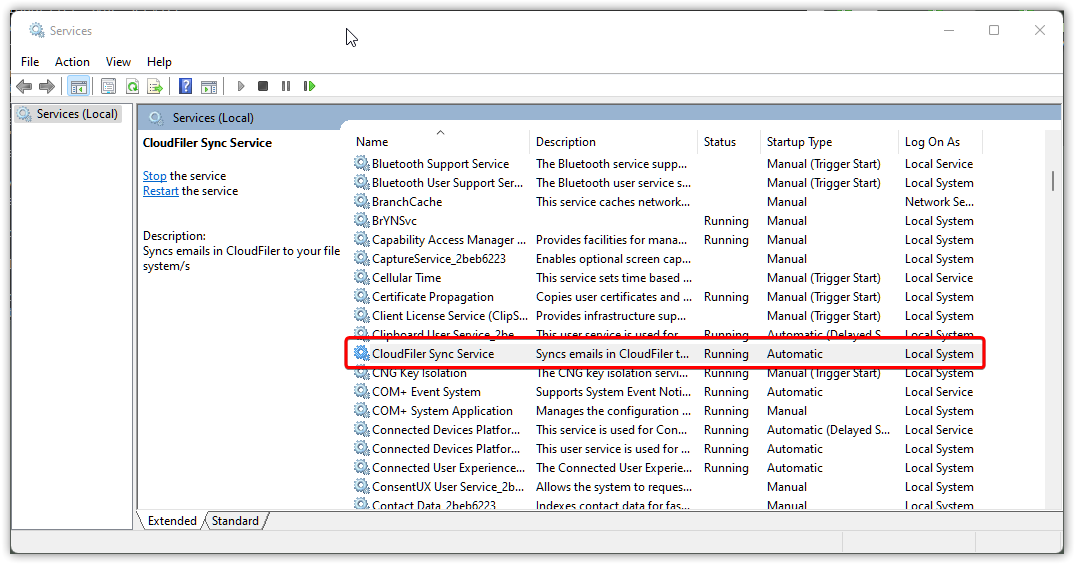
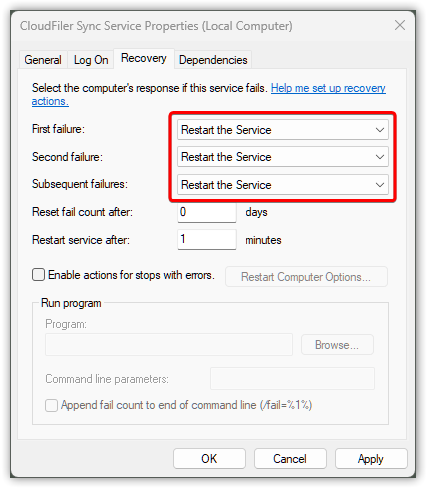
Right-click it, pick Properties then select the Recovery tab and set the First, Second and Subsequent failure actions to Restart the Service:
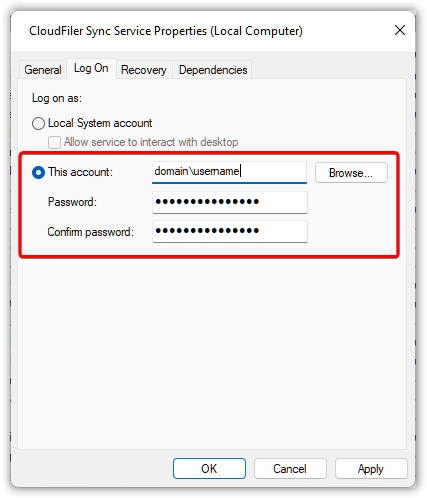
Next select the Log On tab. Assign your specially created user, enter their password and click Apply, then OK.

For the change to take affect you will need to stop the service and restart it, so right-click the CloudFiler Sync Service and select Restart.
That's it. The sync connector should now be running and you will find that emails start appearing in their destination folders.
If the sync service won't run as this user, take a look at Sync SERVICE stopped
Troubleshooting
Take a look at this troubleshooting page if files are not syncing as expected. Sync SERVICE stopped
Change Log
Check the Change log for patches and new releases.