User Preferences/Settings
After an email has been filed, CloudFiler can change the appearance of the copy of the email in your inbox so that you can see which ones you have filed, and it can also move them to another place.
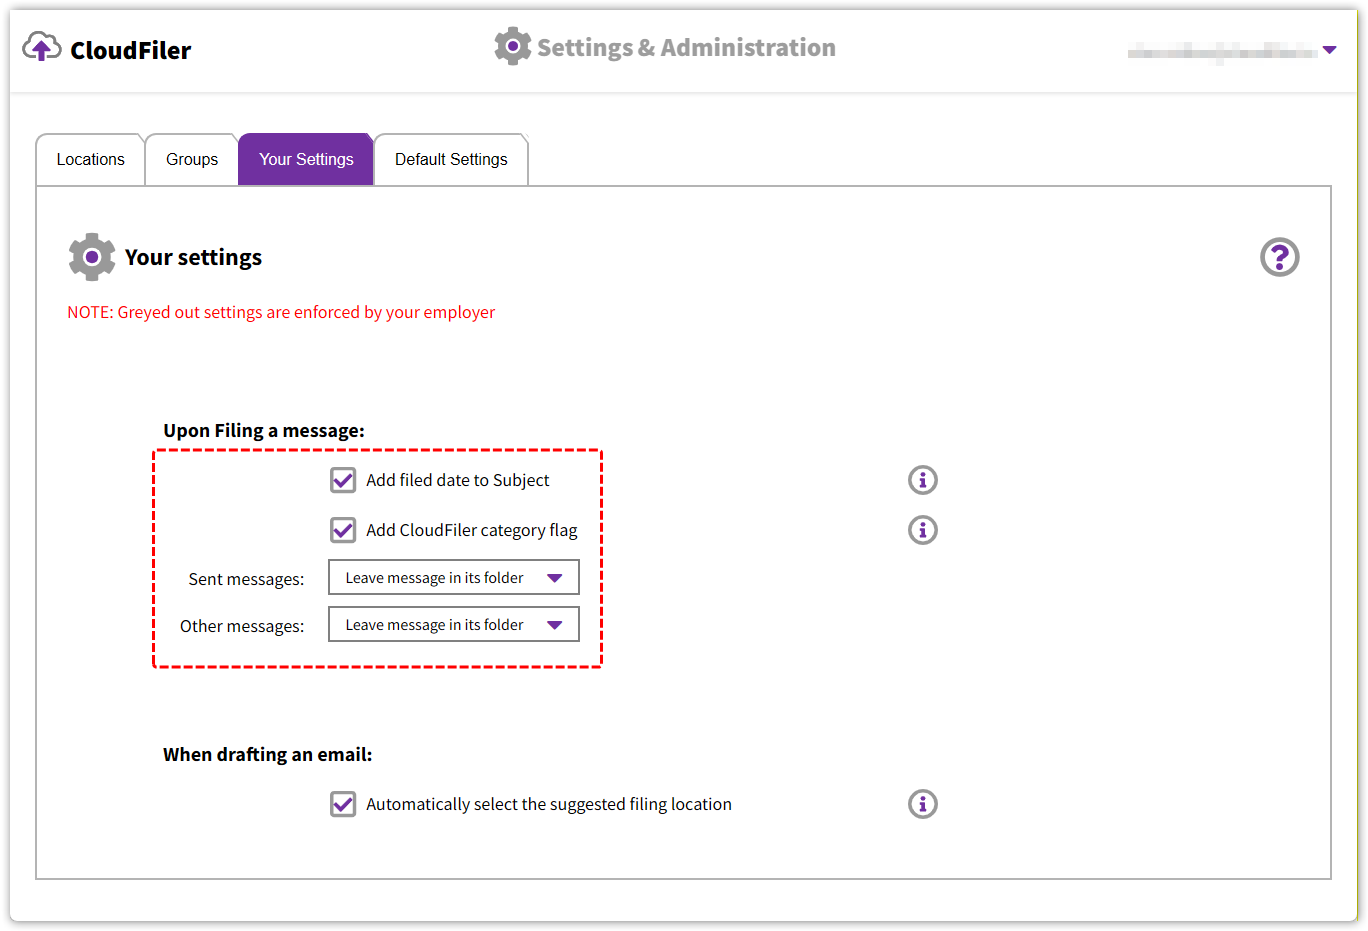
When you filed the first two emails from your inbox to the TESTING location, they disappeared from the folder because the default setting is to move them to the Filed folder, but that might not be what you prefer. You can change these on the Your Settings tab of the Portal.
In this example I have changed the settings so that it leaves the message where it is, but still adds the filed date to the subject and adds the category flag too.
…and here is what a filed email looks like in Outlook with these settings applied:

As mentioned previously you may have users on Macs or running New Outlook and hence, they can’t use the Prompt To File App, which stops users in their tracks and gets them to check whether the automatically selected filing location is correct. These users would be best un-checking the Automatically select the suggested filing location checkbox so that CloudFiler does not select one for them.
Default Settings
As an Admin you will have the Default Settings tab. Here you can set what the defaults should be for new staff, and you can also click on the padlocks to lock the setting to prevent users from changing them.

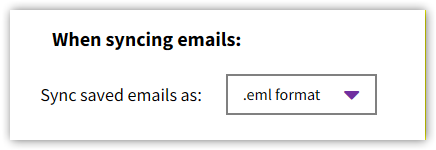
Sync as EML or MSG
You can also elect to sync copies to your storage in either EML or MSG format. CloudFiler defaults to EML because it is both smaller and more portable – all emails systems read EML files whereas MSG is a Microsoft specific format.
Next step: The Sync Connector