Present CloudFiler's Manifest file to Exchange Online
Once you have received your manifest file from us you can proceed with these steps to upload it to Microsoft Exchange on-line.
The manifest file contains the information Exchange needs to communicate with CloudFiler.


Before you proceed
Microsoft allow businesses to Specify the administrators and users who can install and manage add-ins for Outlook in Exchange Online. If your environment has been limited to specific users you may need to get a colleague to do the following.
Uploading your CloudFiler Manifest file to your Exchange Online server
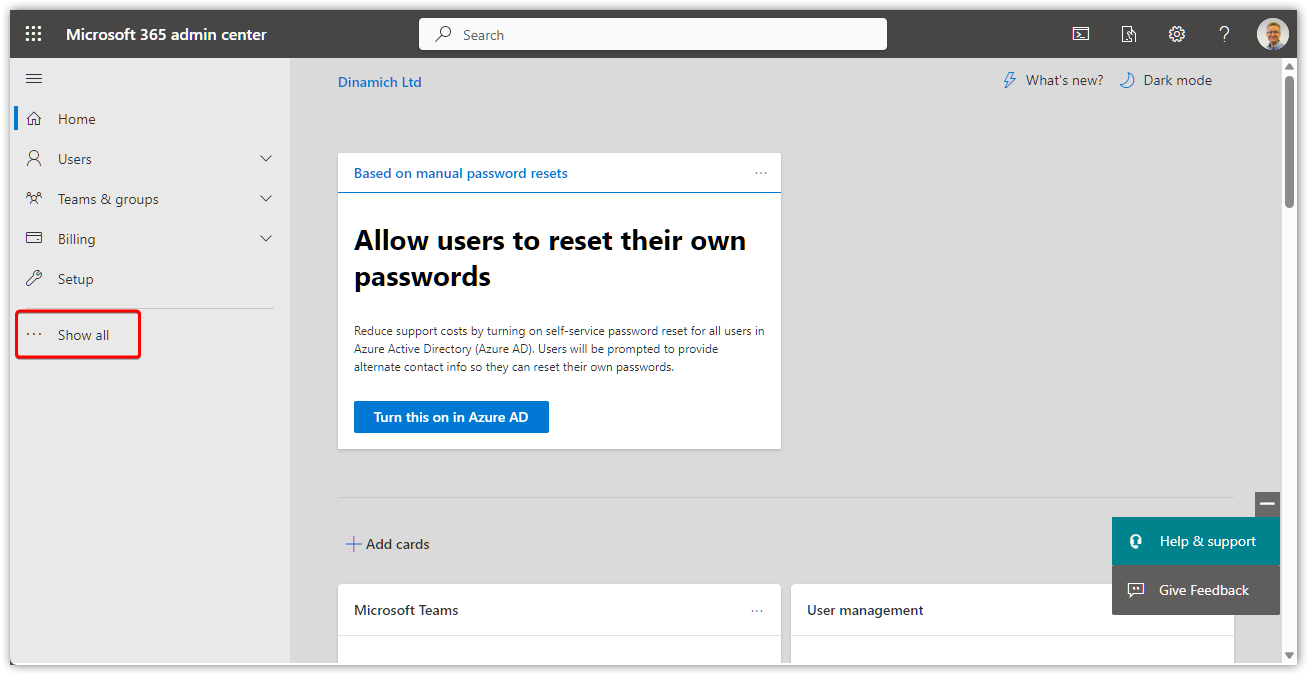
- Log in to Microsoft 365 admin center portal https://admin.cloud.microsoft/ (Link opens in a new window)
- In the menu on the left, click on Show all to expand the menu.
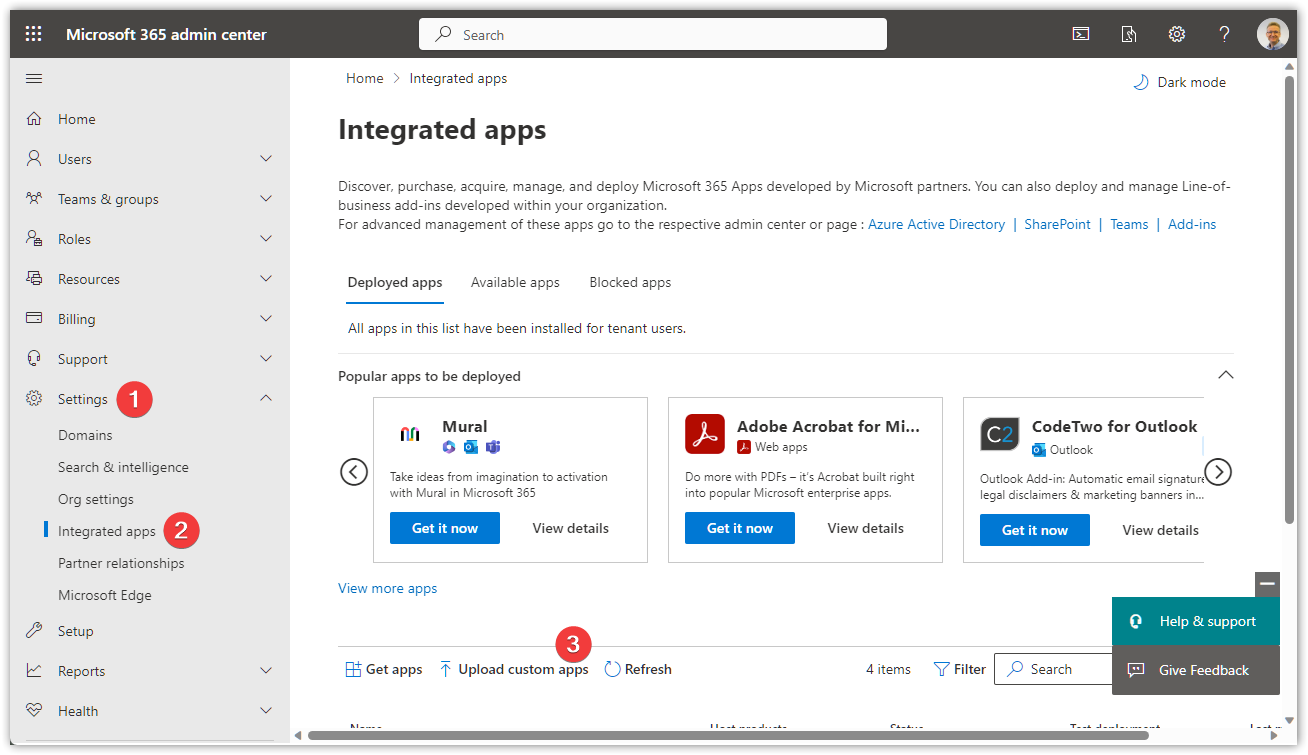
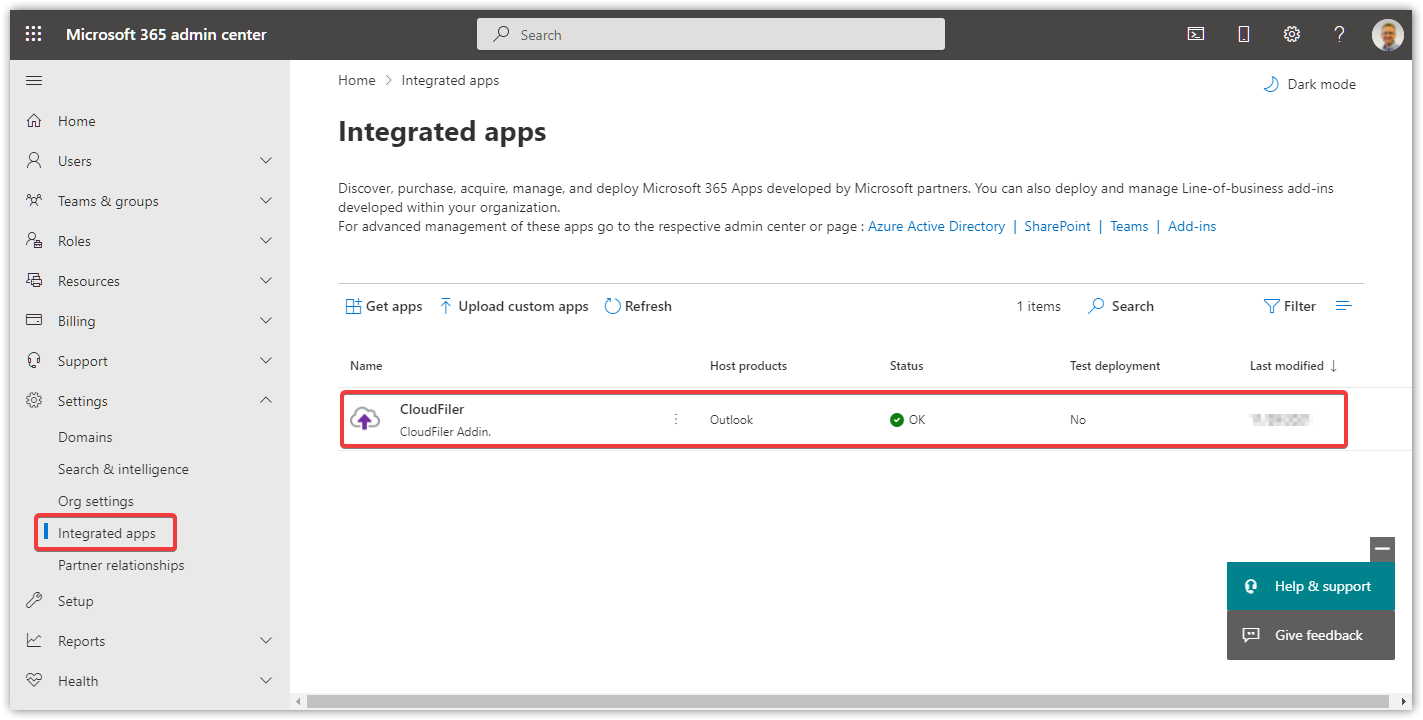
- Expand Settings and click on Integrated apps.
- Click on Upload custom apps.
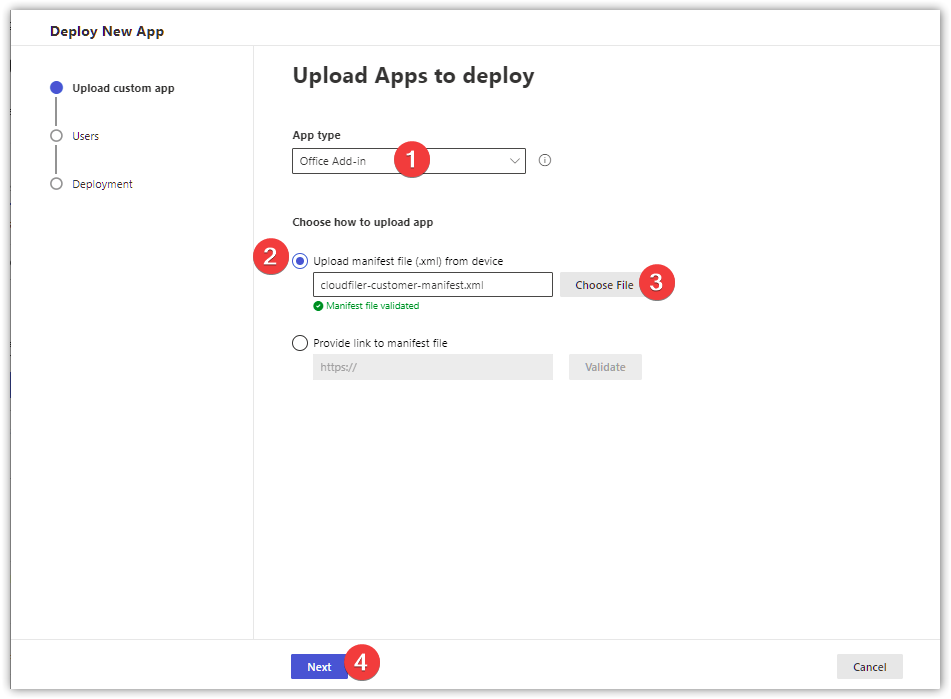
- Change the App type to Office Add-in, select Upload manifest file (.xml) from device then select Choose File and browse to your manifest file. Once the file has been validated the Next button will become enabled,. Click Next.

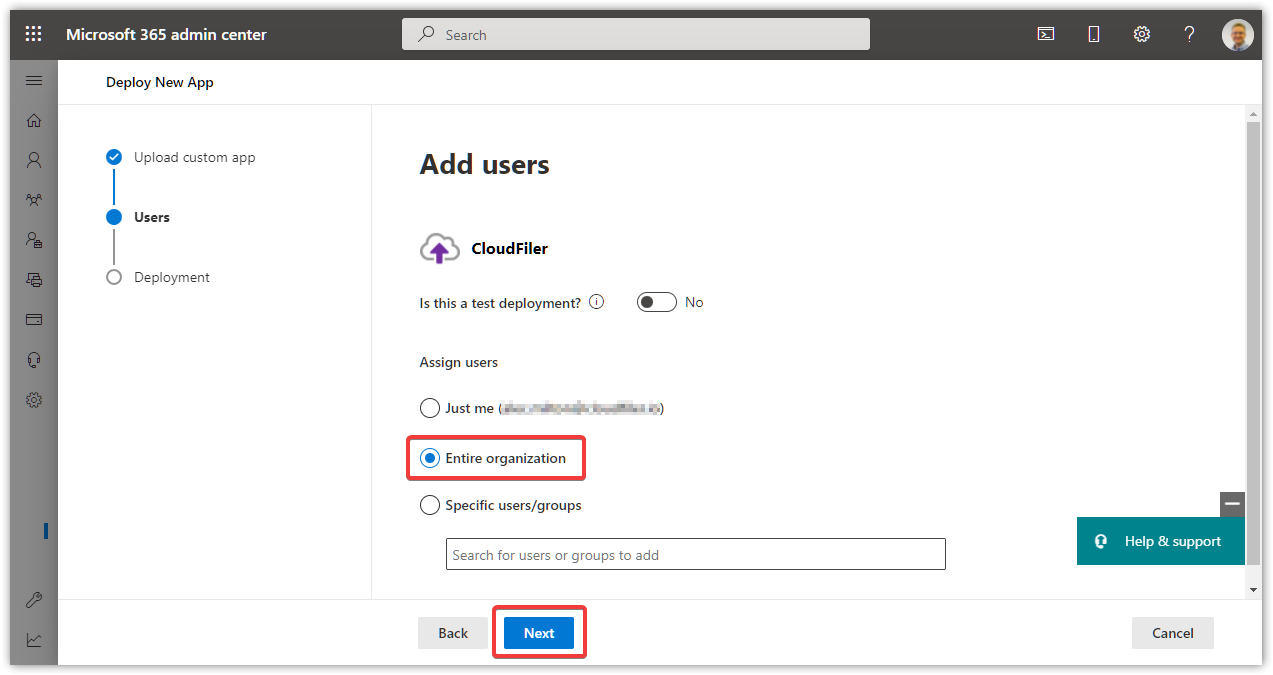
- You can either assign users manually or deploy to the Entire organization. We recommend that you deploy to the entire organisation as you won't then need to manually add or remove users at a later date - it's automatic, however if you are trialling CloudFiler with a small team, this is where you could choose to limit the deployment to just those people. Select your preference then click Next.
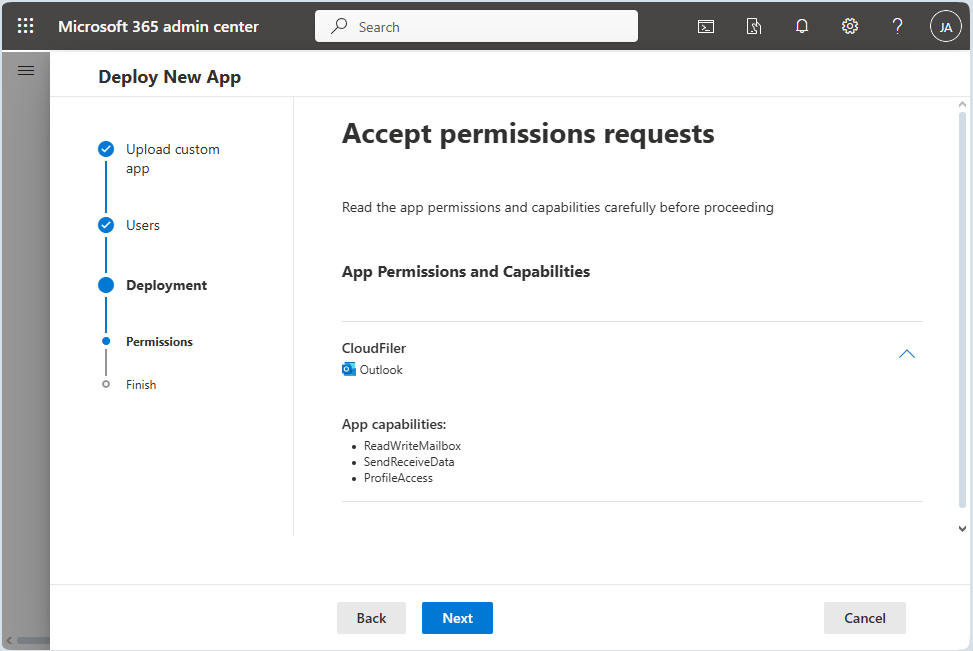
- If you are happy with the permissions click Next.
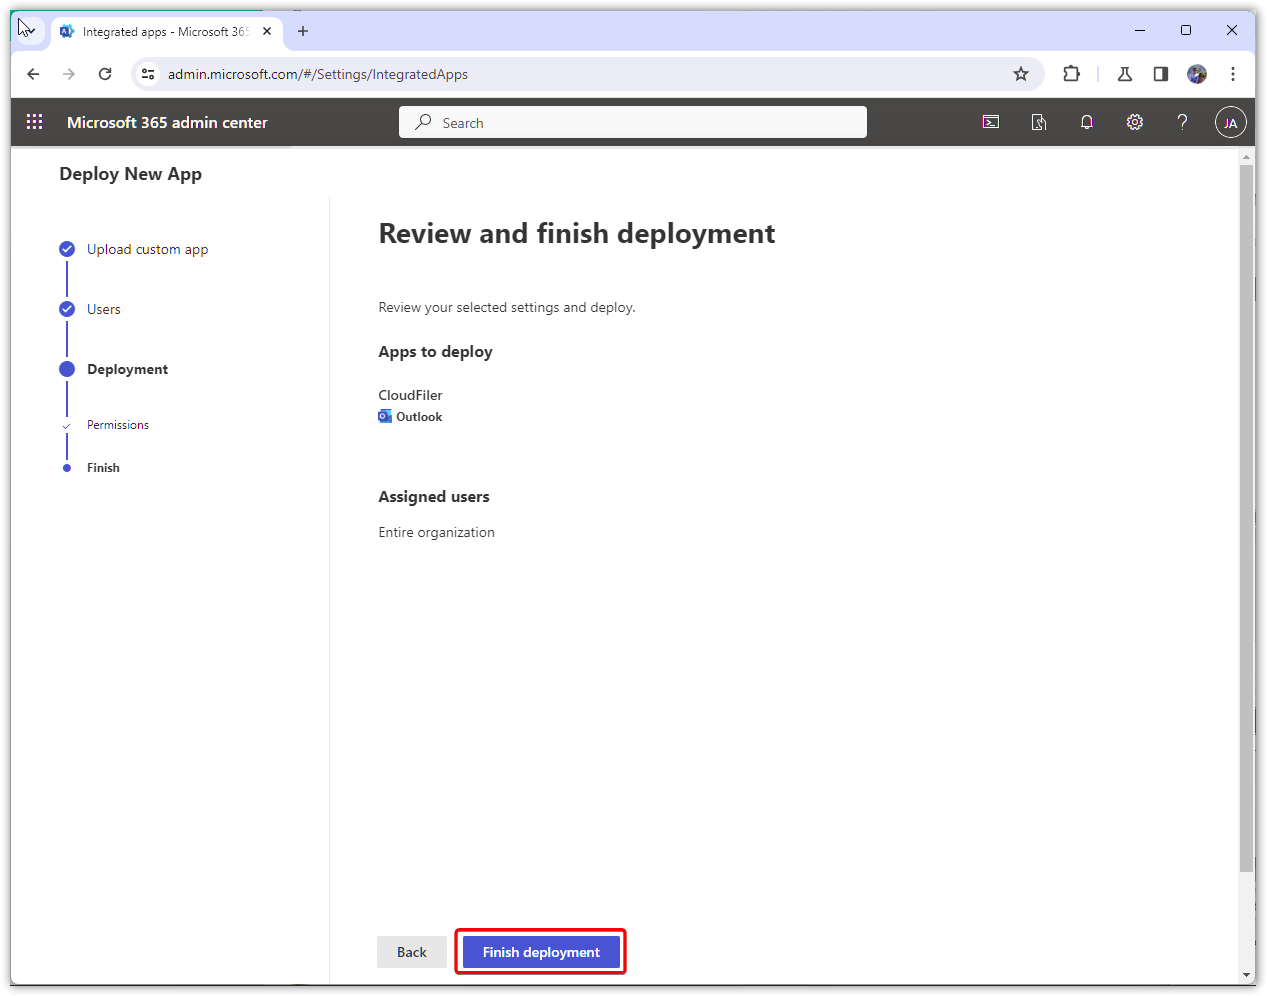
- On the next screen check that the deployment is correct and then select Finish deployment.
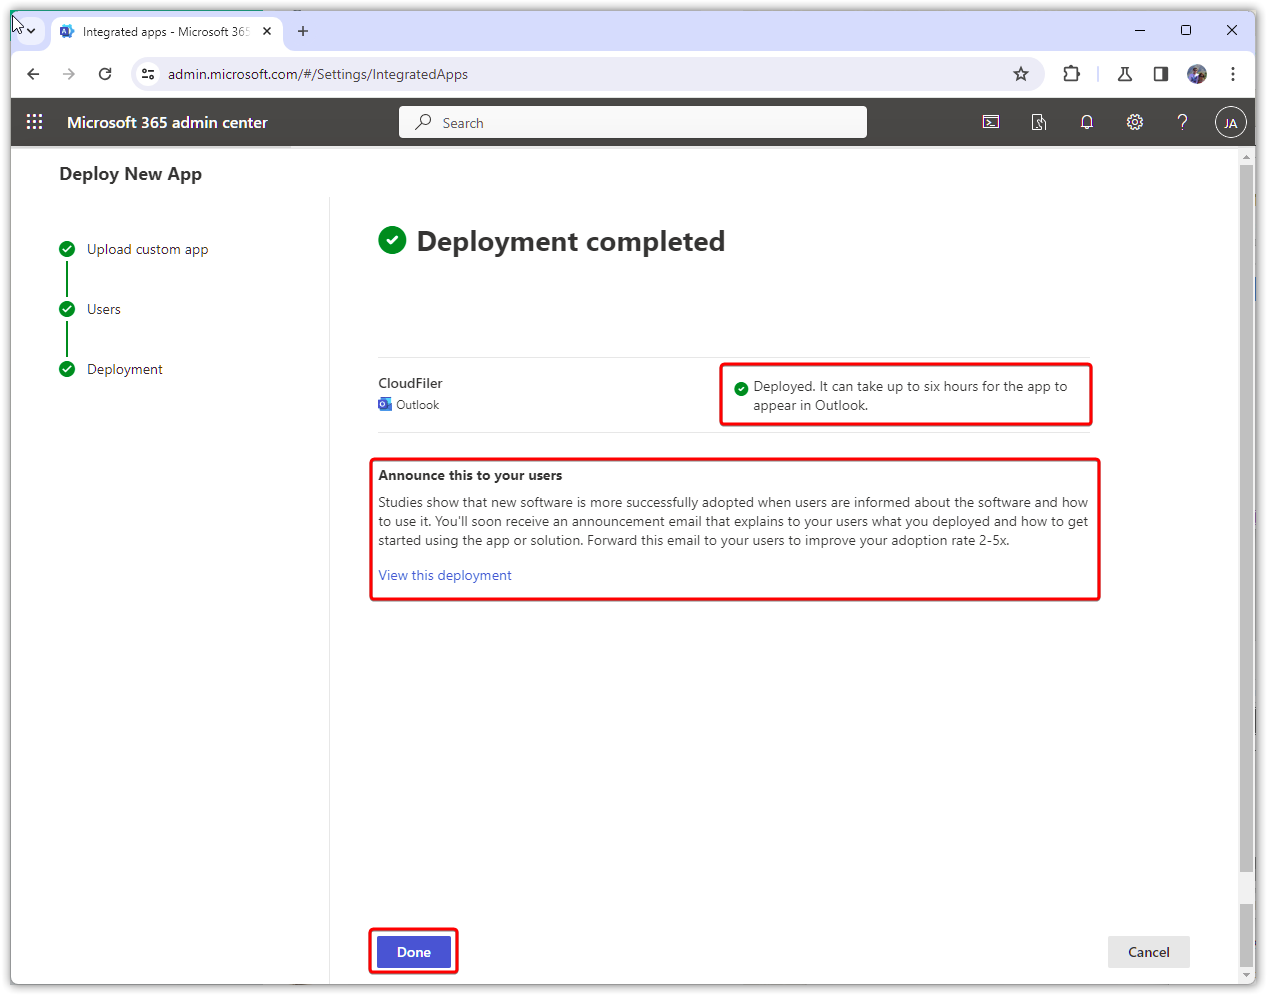
- Be sure to read the information on the next screen then select Done.
- CloudFiler will now be shown as an Integrated app .
Next step: Wait for the Add-in to appear in Outlook