Managing locations
Locations are the key way that users interact with CloudFiler; user can either file to locations or they search them.
You may need to create new locations or edit them from time to time, so this section covers how to manage locations.
Adding locations
CloudFiler offers 4 ways to add locations:
- Right-click in Windows File Explorer (Provided by the Shell Extension)
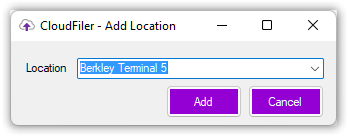
If you just need to add one location at a time and are licensing the Professional or Enterprise tier, where you will additionally need to supply a file path, this is arguably the easiest method.
See Add Location to CloudFiler for more details.
- Add via the portal
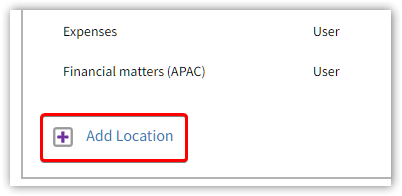
If you are licensing the Standard tier where you only need to give the location a name and don't need to provide a sync path, this is the easiest method. It can also be used by licensees of the Professional and Enterprise tiers but they will need to additionally provide the path into which the emails will be synced.
See Portal - Add Location for details on how to add locations via the portal.
- Import or create via the Bulk Uploader
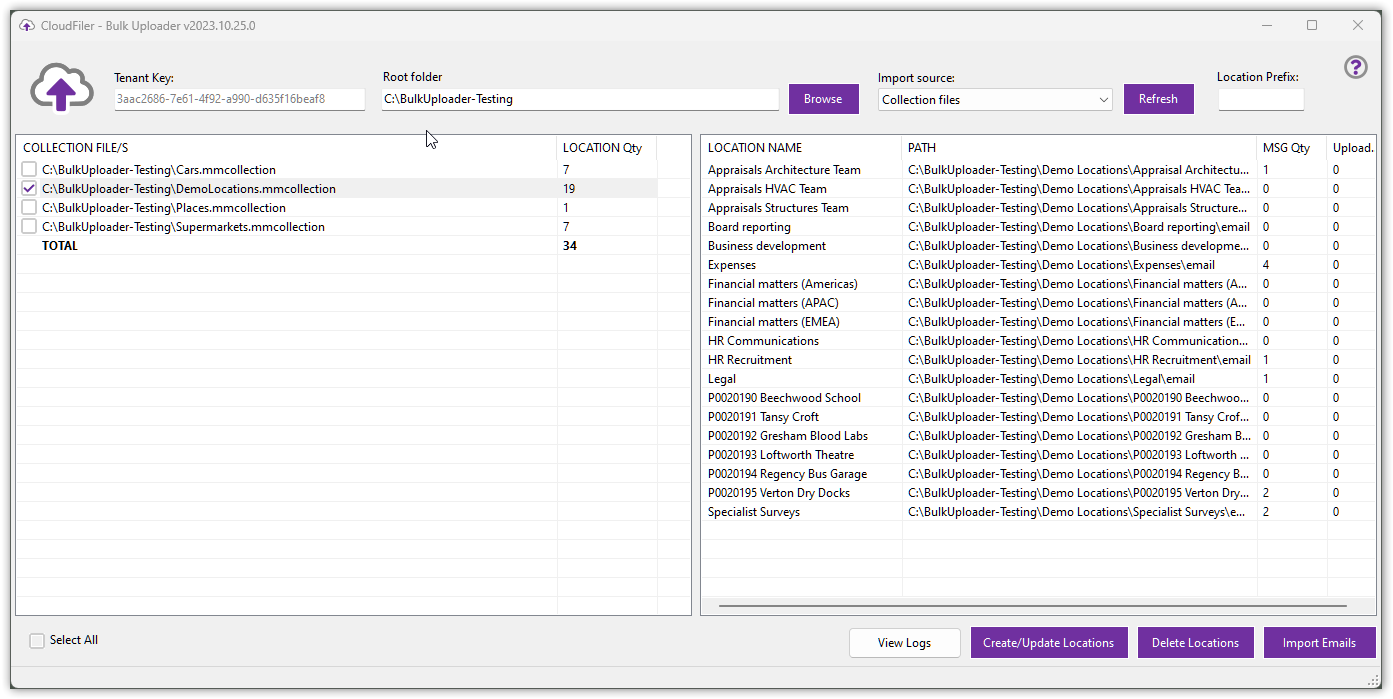
The Bulk Uploader is mainly used when importing legacy data from other systems. It can however be used to just create locations if that's all you want it to do.
A particularly useful import method is the XLSX one, enabling you to create locations in bulk via a spreadsheet.
The Bulk Uploader has its own help documentation which is accessible via the '?' icon in the top-right of its interface.
- Add via our Application Programming Interface (API)

API access to CloudFiler is only accessible to licensees of the Enterprise tier and is provided upon request.
Editing locations
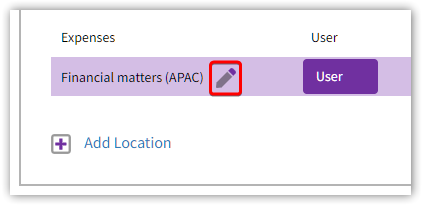
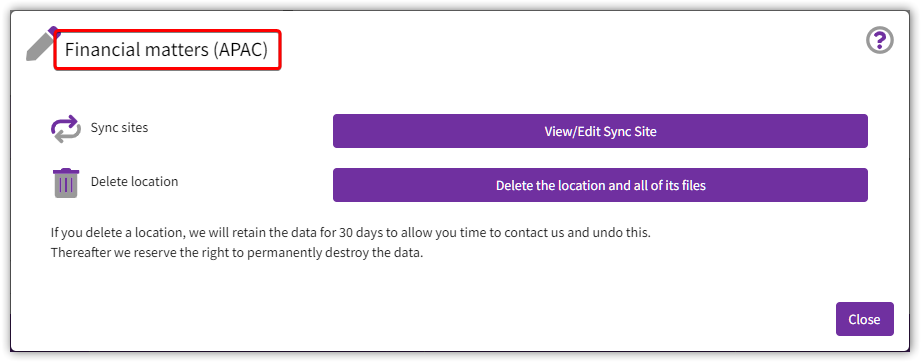
If you have been assigned permissions to edit locations, you will find that when you mouse-over them on the portal they will display the edit icon, so to edit a location click on the edit icon:
Editing the name of the location
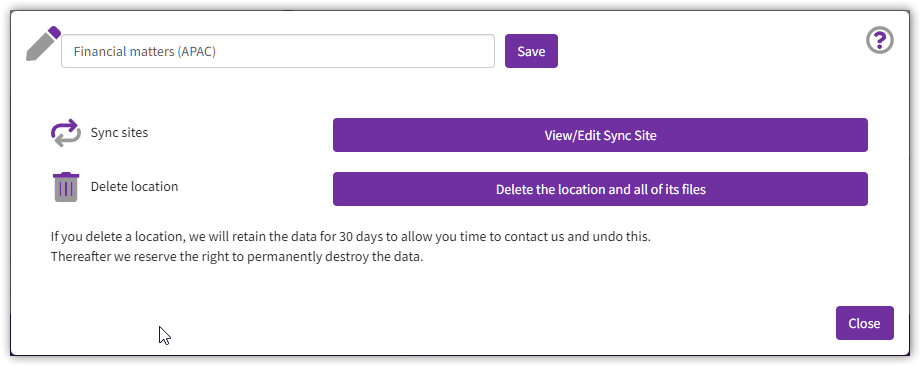
To edit the name of a location, just click on its name:
Then edit the name and pick Save:
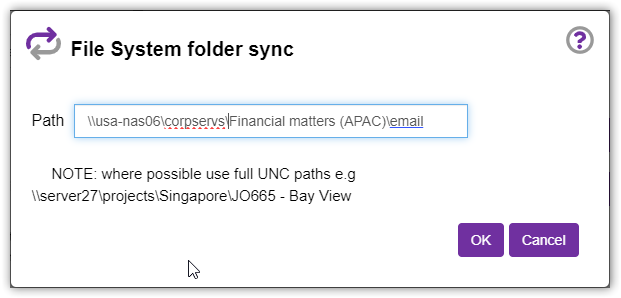
Editing the sync path of a location
To edit the sync path of a location select View/Edit Sync Site, edit the path and then pick OK
Deleting locations
You can delete locations via any of the following methods:
- Via the portal if you have admin permissions
- Via the Bulk Uploader
- Via the API
[This section to be completed]